
A well-optimized checkout web page may help enhance the prospect of gross sales. It additionally enhances the general consumer expertise. That is a very powerful half the place the transaction happens and also you receives a commission. So you must make the client’s journey as easy as doable.
WooCommerce has built-in performance in e-commerce that accommodates a store web page, cart web page, checkout web page, and all the things you should construct a web site on WordPress. To make the e-commerce journey extra handy you must give attention to some essential elements of your e-commerce web site.
On this weblog, we’ll talk about why an optimized checkout is critical and the best way to obtain this simply.
Why Customise the Checkout Web page
There isn’t a different to a user-friendly checkout web page. WooCommerce helps you to create a checkout web page on your retailer. The default checkout is nice however you should do a check for a better conversion charge. Additionally, you must take into consideration the ample charge. Based mostly on analysis exhibits that the speed of checkout abandonment charge is sort of 70%.
It’s a matter of query to consider your web site checkout course of. The vast majority of the guests buy from a web site that’s user-friendly and has a easy checkout course of.
Significance of a Customized Checkout Web page in WooCommerce
The checkout web page is the ultimate a part of a buyer journey. If this isn’t configured or designed accordingly there will probably be no outcome. Finally your clients will go away your web site and he is not going to buy out of your web site once more. Consequently, this can lead you to a loss.
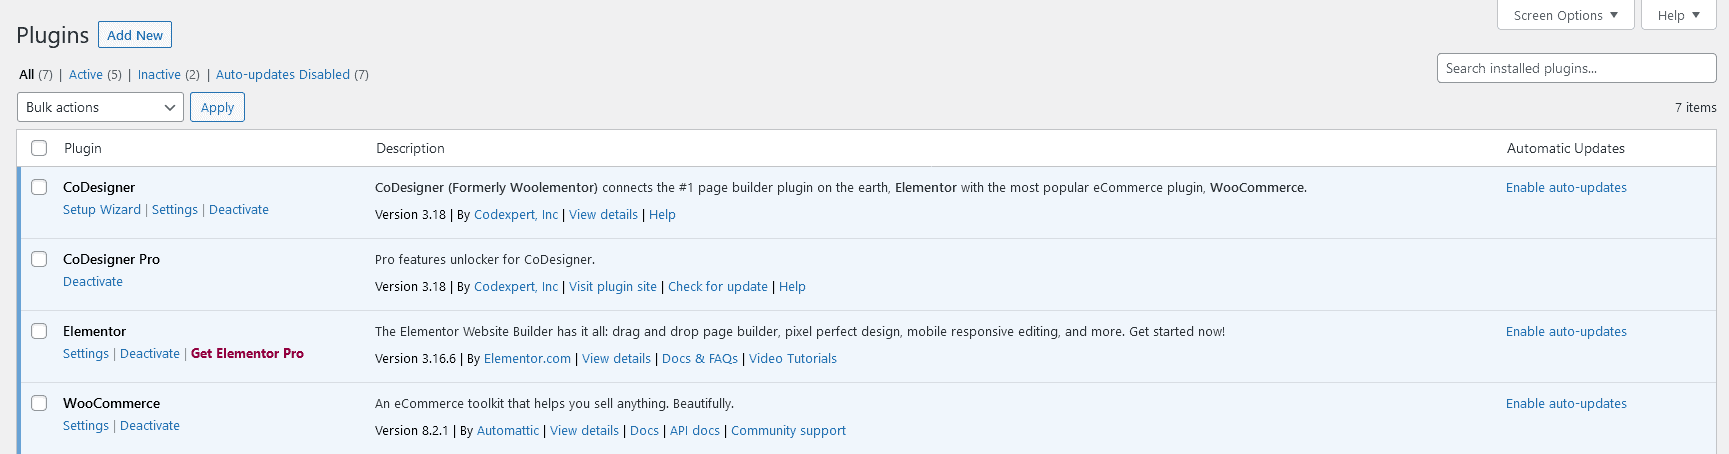
Obligatory Plugins
Now you could marvel the best way to create and customise a WooCommerce checkout web page. There are some obtainable plugins on the WordPress repository to customise the default WooCommerce checkout web page. With the WooCommerce plugin, you require
- Elementor
- CoDesigner and,
- CoDesigner Professional
Introducing CoDesigner and CoDesigner Options
CoDesigner is likely one of the high Elementor add-ons. It helps you create and customise each a part of WooCommerce together with the Store web page, Cart web page, Checkout web page, and Single Product web page. This plugin provides each free and Professional variations. Each of those variations present extremely customizable widgets and pre-made templates.
Options:
✔️ Entry over 125+ pre-designed web page and part templates
✔️ 90+ free and premium widgets
✔️ Suitable with WordPress in style themes
✔️ Get pleasure from real-time Dwell copy-paste performance
✔️ WooCommerce Store, Cart, Single Product, and Checkout Builder functionalities
✔️ In depth customization functionality
✔️ WooCommerce Clients E-mail Designers
How you can Create a Customized WooCommerce Checkout Web page
It isn’t that arduous to create or customise a WooCommerce checkout web page. For this, you must comply with a few of the easy steps.
- First, be sure you have put in the WooCommerce, Elementor, CoDesigner, and CoDesigner Professional plugins in your WordPress web site.
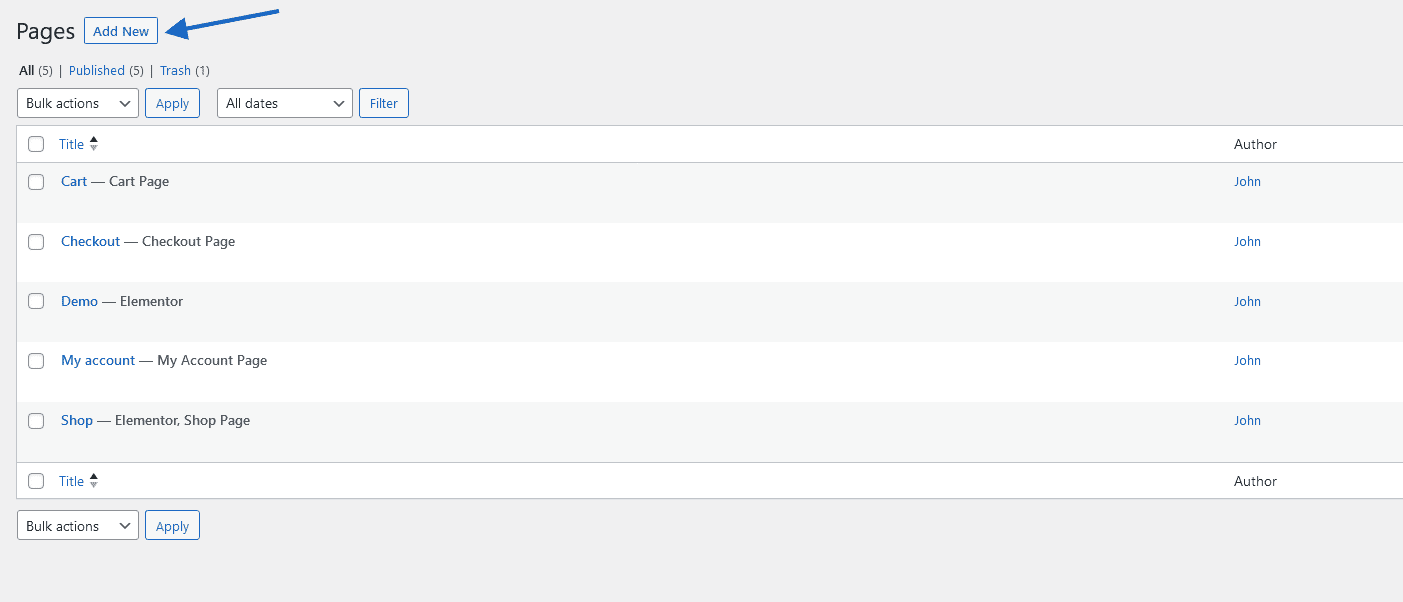
- After configuring all of the settings of WooCommerce you must go to your dashboard and click on on the Web page tab.
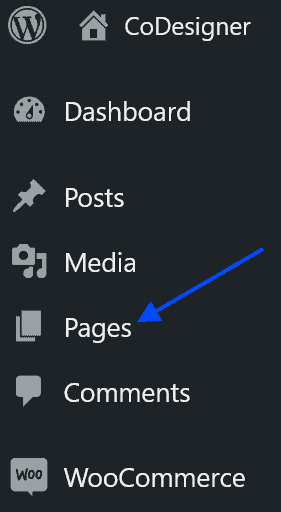
- Now you must create a brand new web page. Click on on the Add New button on the location web page and supply a title to your new web page.
- After that, open the web page on the Elementor editor.
- On the editor web page, You need to use the CoDesigner Checkout widgets on a brand new part
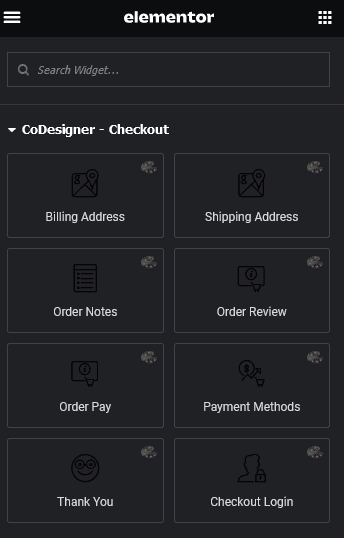
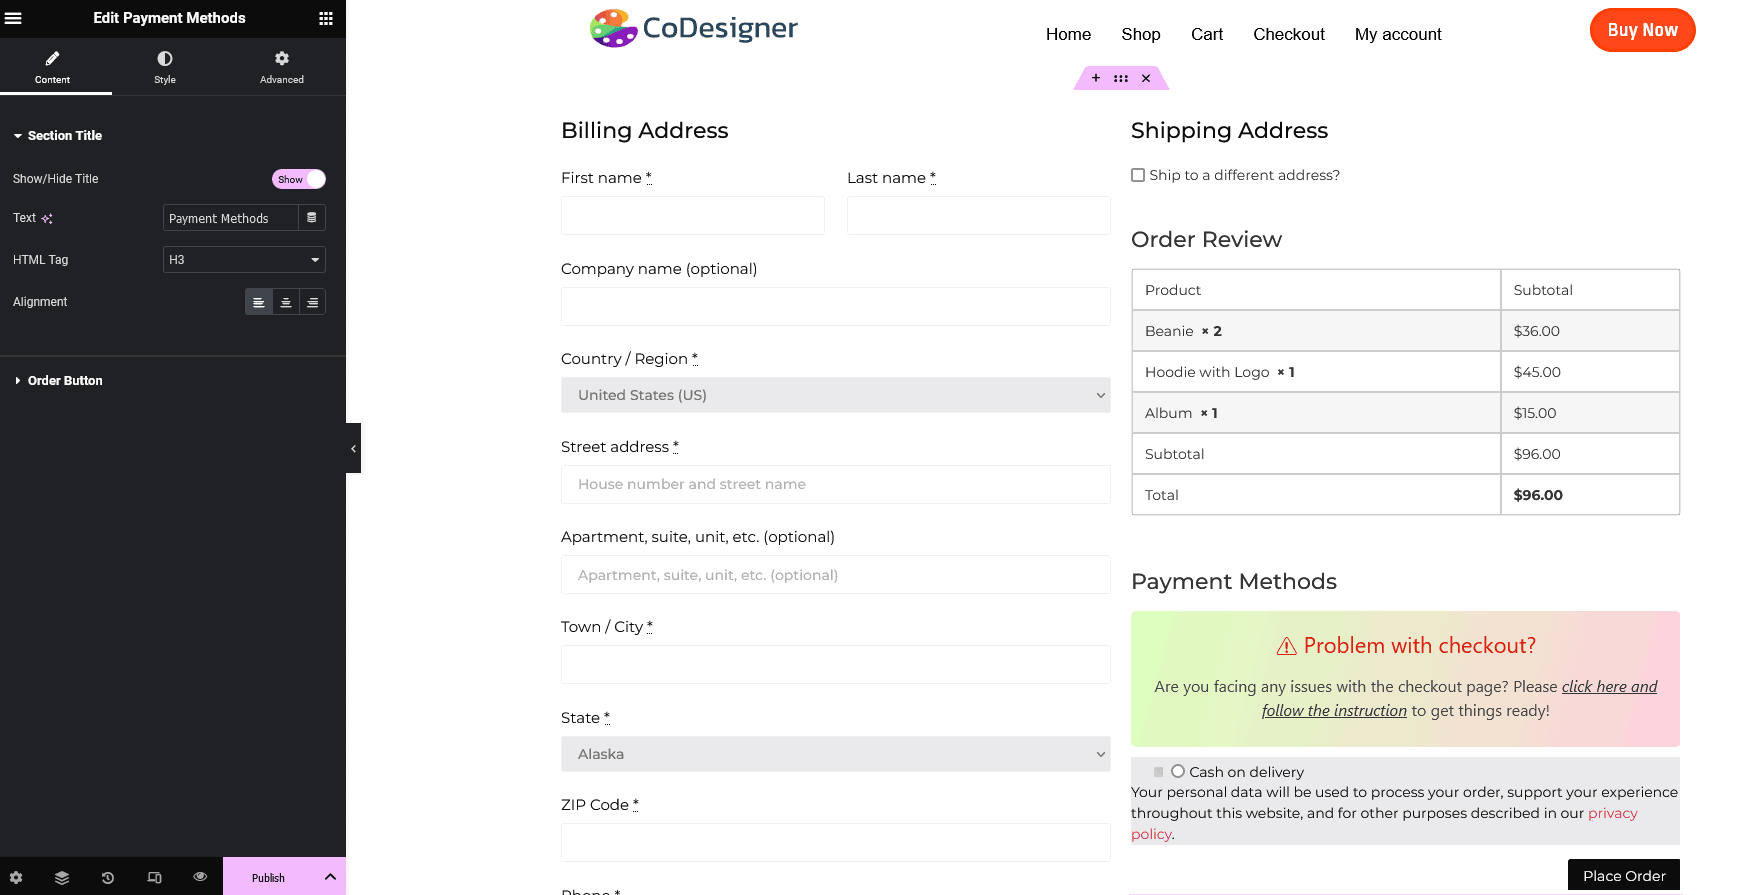
CoDesigner Checkout widgets at a glance-
- Billing Tackle
- Transport Tackle
- Order Assessment
- Order Word
- Cost Strategies
- Thanks Widgets
- Order pay widgets
- Checkout Login
These widgets will aid you create a wonderful and gorgeous checkout web page. To realize it you must:
- Drag the Billing and Transport widgets into two separate sections
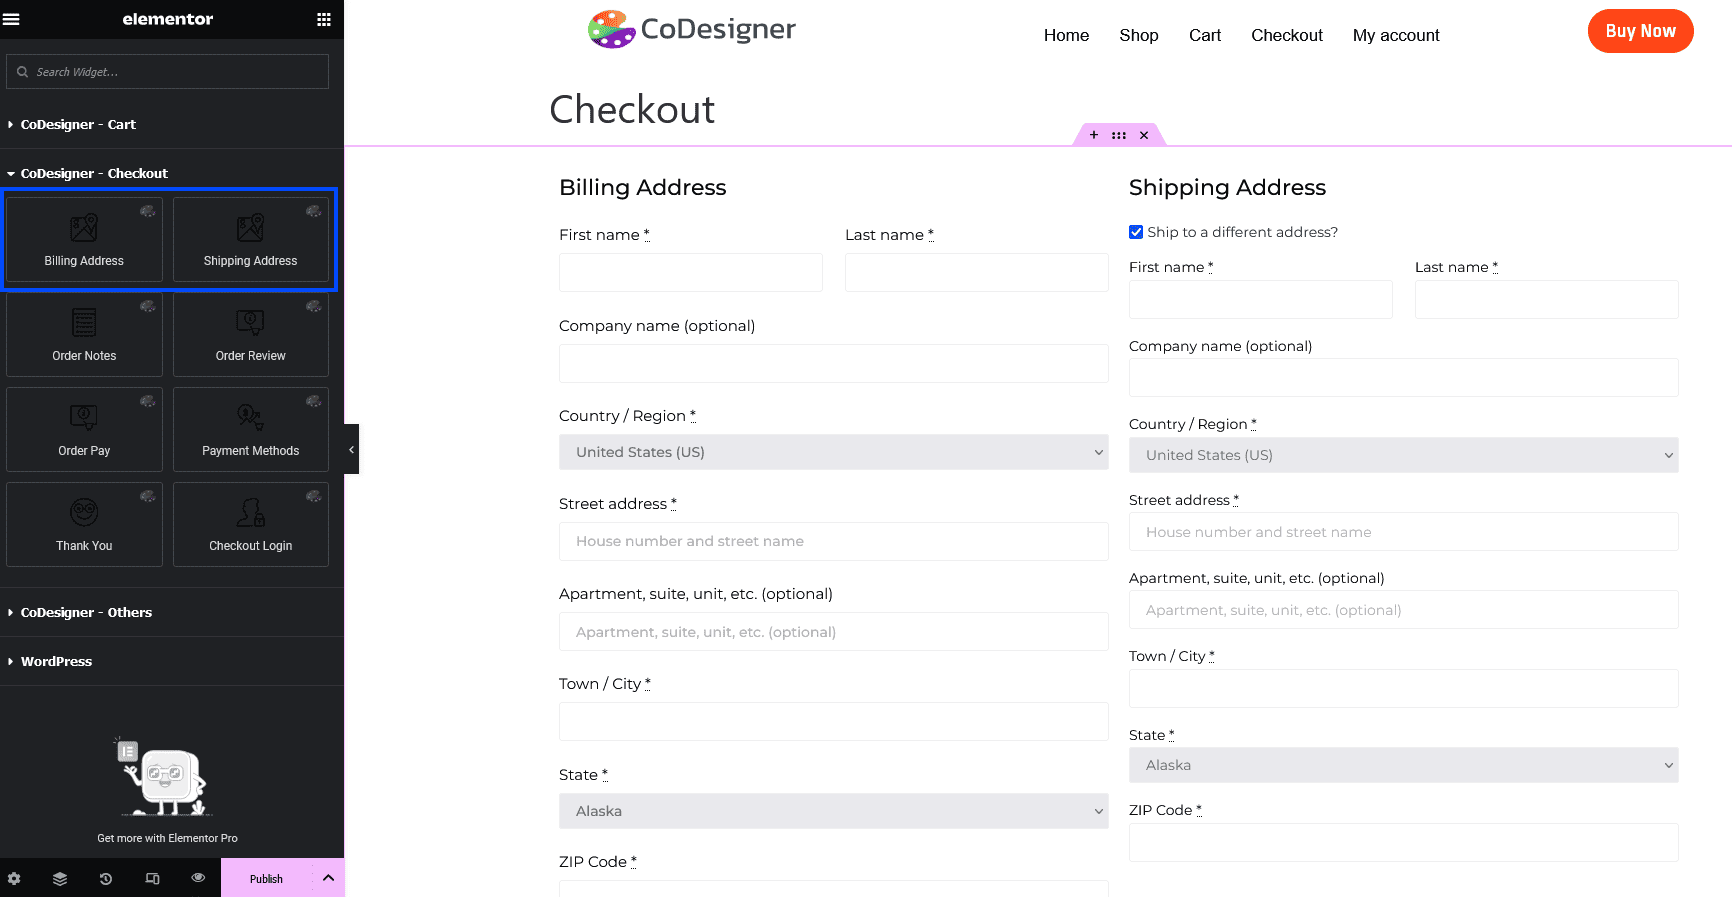
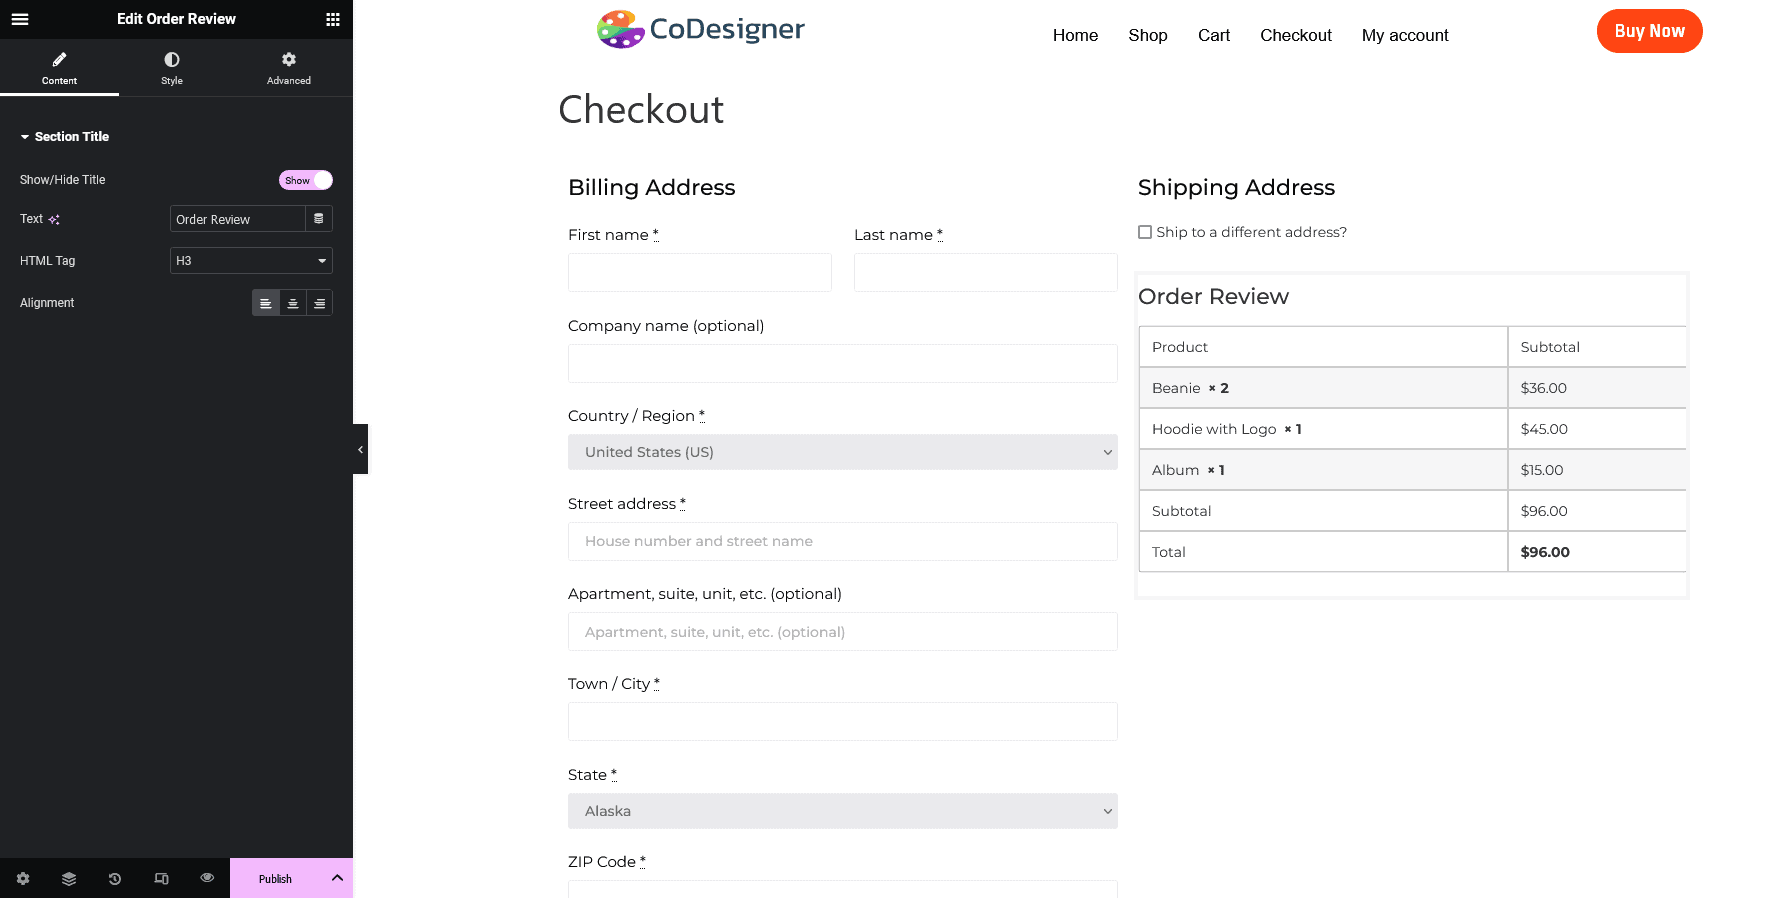
- Now you must drag the Order evaluate underneath the Transport widget
- Lastly, you must insert the Cost Strategies widget underneath the Order Assessment widget
Tricks to Customise the Checkout Web page
Now begin with the tricks to customise the checkout web page. It’s all as much as you which of them design you wish to select. However you must do some consumer analysis. By doing consumer analysis it is possible for you to to know the ache factors of your customers. After detecting this, you’ll be able to resolve it and make the checkout course of extra easy. Listed here are some ideas you’ll be able to follow-
- Use a Minimal Design: When doing a checkout design make certain it’s clear and easy. There are solely a handful of components. It’s essential to make it clear that your clients don’t really feel it’s crucial. In any other case, they are going to go away with out shopping for something.
- Take away Pointless Fields: It’s essential to organize the shape fields logically and in a user-friendly method. Take away all of the pointless fields to make the checkout course of simpler. In CoDesigner, you’ll be capable of take away the extra discipline displaying in your checkout.
- Multi-step Checkout or One-step checkout: These days, most clients like step-by-step checkout. Completely different clients could favor totally different approaches. However having these checkouts in your web site could make your checkout course of extra user-friendly.
- Testing and Optimization: Constantly monitor the checkout course of, and collect your buyer’s suggestions. With this knowledge, you can also make the checkout course of much more optimized
After all of the customization you must publish your checkout web page. In case you haven’t set this as your web site checkout web page then go to WooCommerce – Settings – Superior and set this checkout web page as your default.
How you can Present Thank You Message
You have to set one thing on your clients that encourages them to come back to your web site and make one other buy. To make this occur, You may connect a Thank You message when your clients lastly place the order. It will make a big impact in your clients. As a way to present the Thank You message-
- Go to the checkout web page you have got created and open it with Elementor editor
- You need to create a brand new separate part.
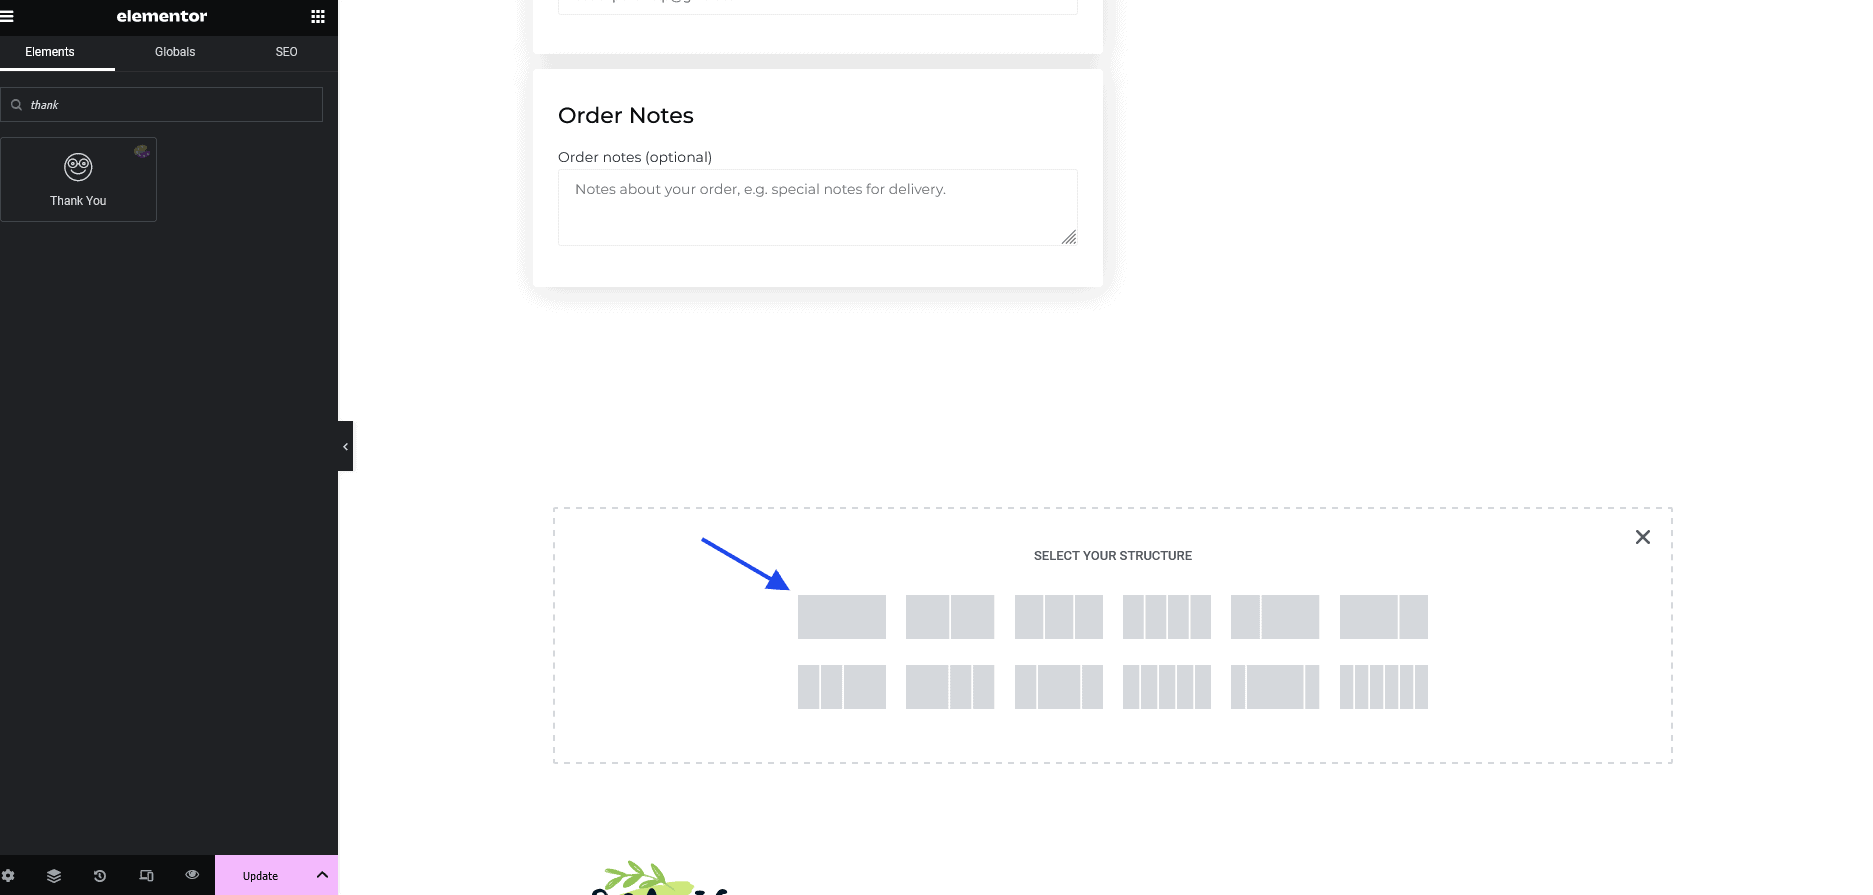
- After that drag the Thank You widget from the editor panel

- When the customization is accomplished, click on on the part and allow Comprises ThankYou

- Lastly, click on on the Replace button
Now your buyer will see the Thank You message after inserting any orders.
How you can Allow Order Pay
Within the Similar, you’ll be able to create the Order Pay part. Order Pay is a helpful answer for e-commerce web site homeowners. If that is enabled in your web site your clients pays anytime in the event that they forgot to pay for the order. In case your clients go to again and search for the order they are going to simply discover it of their accounts order tab. Even you’ll be able to share the order hyperlink together with your clients.
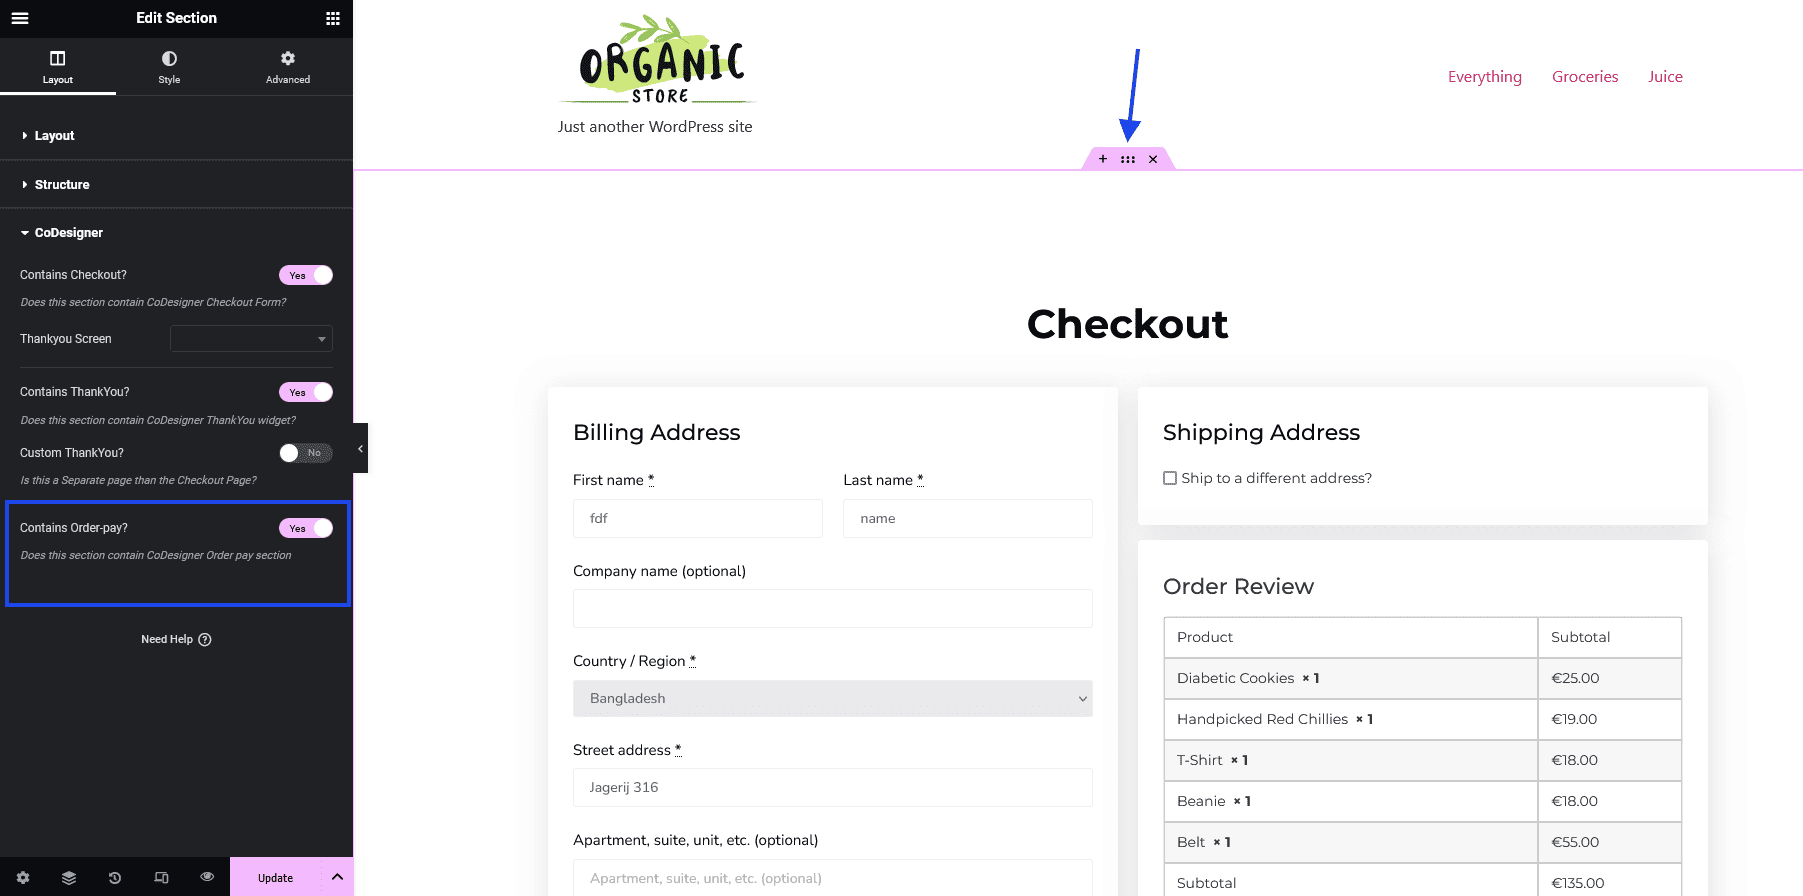
This Order Pay possibility could make a big change to your web site. Clients will really feel extra comfy with their buy journey.
Closing Phrases
Daily the e-commerce competitors is growing. To maintain tempo with it, you must be extra involved about your buyer journey and satisfaction. You need to take an in depth have a look at the place your clients are having difficulties throughout this journey. Taking excellent care of this stuff could make a great e-commerce web site and clients will take pleasure in buying from you.
Writer Bio
Mustakim helps folks with WordPress, enterprise, search engine marketing, and developments in his writings. Presently, he’s growing a enterprise for Pluggable. Builders and Net Designers can simply promote or buy from this WordPress Plugin Market.